Calibration and adjustment of devices
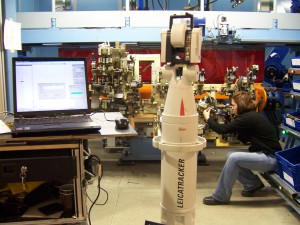
Nowadays it is common practice for individual devices or even whole groups of production cells and production lines to be exactly calibrated when installed.
In addition, the devices are checked at regular intervals while in use and may have to be adjusted to ensure their functionality.
Checks by measurement against target data:
- CAD data from design programs such as CATIA, Unigraphics, Solidworks, etc.
- Self designed standard geometries with target and best-fit dimensions in the measurement software
Results:
- Determination of the actual deviations from the target data
- Numerical output in a table or as a chart.
An immediate correction of the test object can be immediately discussed with technicians and project managers on-site.
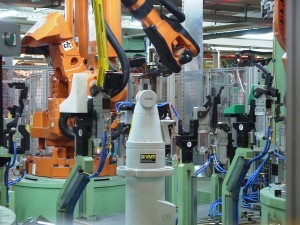
As devices in such production lines are often equipped with robots, or components are welded together in them, a check of these station robots is also an important element of quality assurance. Generally, the robot head is moved to certain specified target positions that are then checked by measurement. An experienced operator can then reteach the robot using the deviations between the actual and target data.
Data collection:
- Individual points that are found in the whole working area of the robot
- Dynamically moved tracks, whose movements are recorded by us using laser trackers


