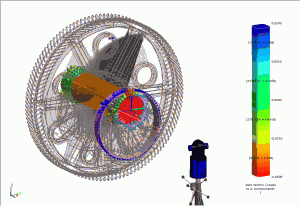
Measurement against CAD
In most cases, design data in the form of CAD models are available. These target data comprise the basis when measuring against CAD.
Two of the most important questions discussed by many product manufacturers and suppliers are:
- Does the component meet the design specifications?
- Are series parts produced with consistent quality?
First the measuring instrument is positioned opposite the test object in the same coordinate system. This is realized with a simple best-fit transformation.
- Transformation via fixed reference points or geometries
- Transformation via freely selectable object points
Afterwards, the geometries and surfaces to be checked are measured and their actual data compared with the target data from the CAD model.
As a result, the following possibilities are available:
- Any geometries can be checked
- Specified sections can be generated
- Points can be checked for positional accuracy
- Deformations and production faults can be found
The results of the target-actual comparison are displayed clearly graphically and in tabular form. In the same way, adherence to tolerances and other GD+T requirements can be checked.

